Tile Birthday Cake

Happy birthday to the niece of my boyfriend! She didn’t really know what she wanted her cake to look like, then she said she likes tiles, sooo… this is what I made 😀
I baked a vanilla cake and made hazelnut buttercream. I made it by adding a couple of teaspoons of hazelnut butter in with my Swiss meringue buttercream just until I liked the taste, and o my did it taste nice! I spread the hazelnut buttercream on a cake layer and sprinkled some chopped hazelnuts on top. I iced the cake with normal Swiss meringue buttercream.
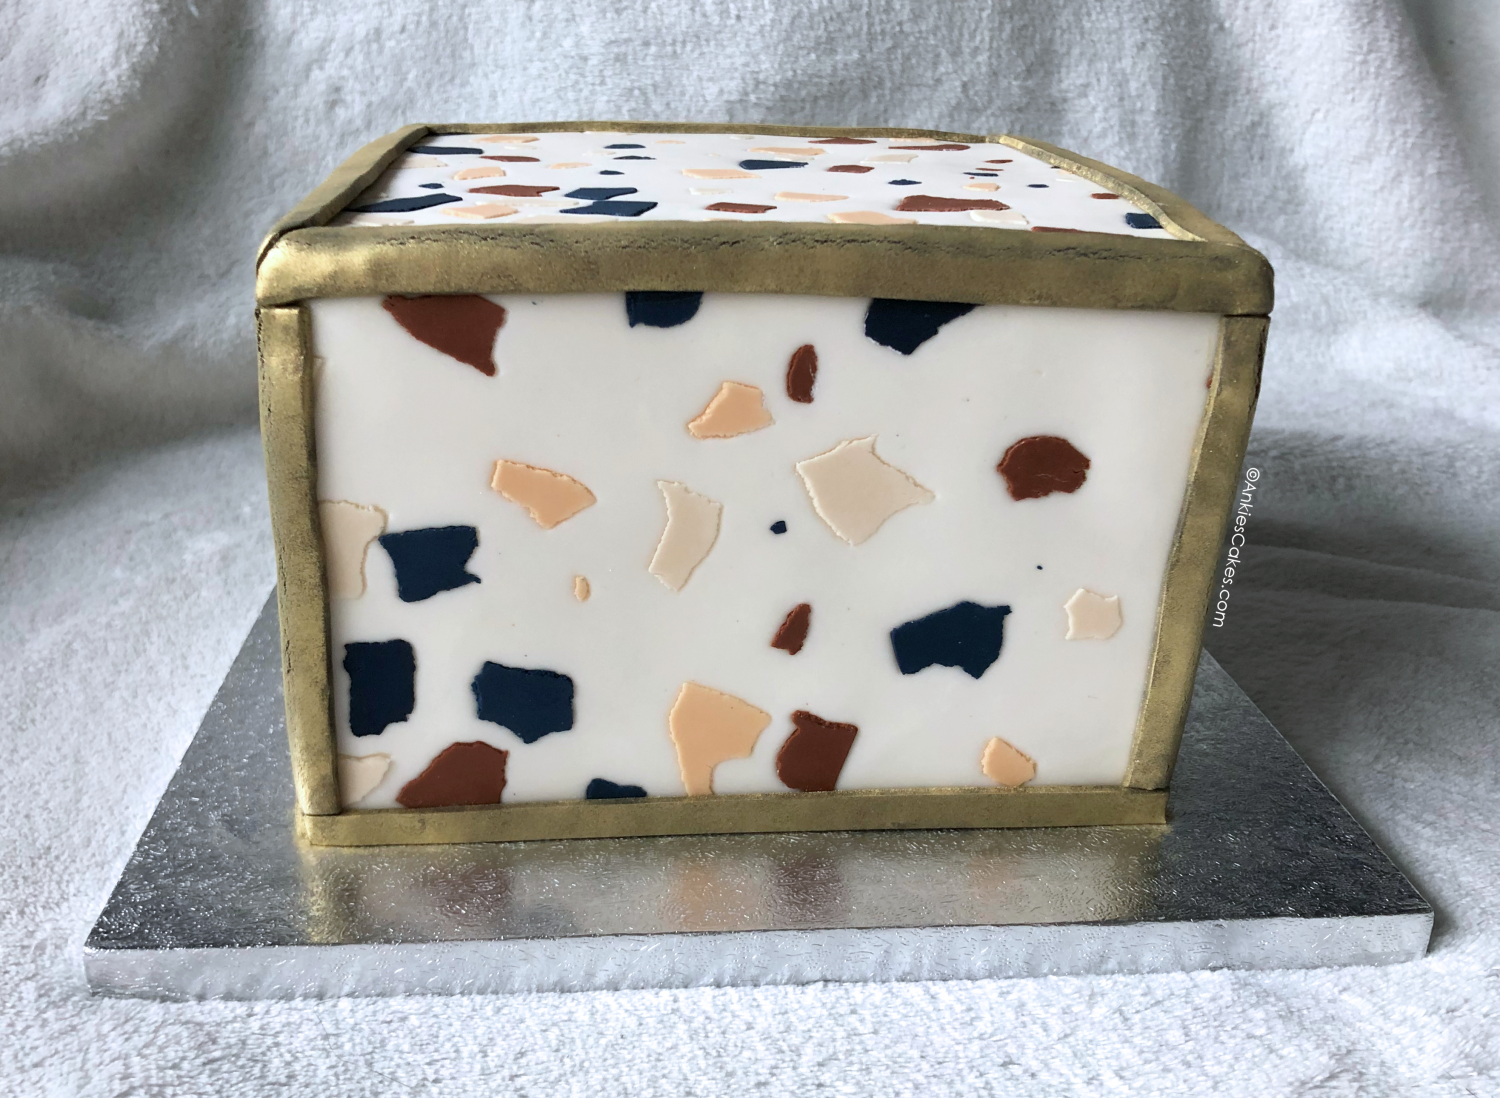
For decoration, I made the little coloured bits by colouring fondant and adding tylose powder to stiffen it up. Then I rolled it really thin and placed it on a baking sheet to dry out. When they were dried out I torn them in tiny peaces. Then I rolled out my white fondant and cut them in rectangular shapes a bit bigger than the side of the cake I wanted to cover. I used this method of covering my cake because it would give me sharp edges and because of the tile pattern it would be way easier to putt on the coloured pieces. So then I stuck the coloured pieces on the white fondant and placed this on a baking sheet in the fridge to let it firm up just a bit. Then I covered my cake with those panels, cut them to size when the were on the cake. And to finish it of a bit nicer I added a gold border on the corners. I did this by rolling black fondant, cut into strips and dusted it with gold luster dust. I glued them on with some water and the cake was done :)
This was quite a challenge because I had never used the ripping technique for the coloured bits and I also have never paneled my cake. So I really learned some new things while make this cake :)