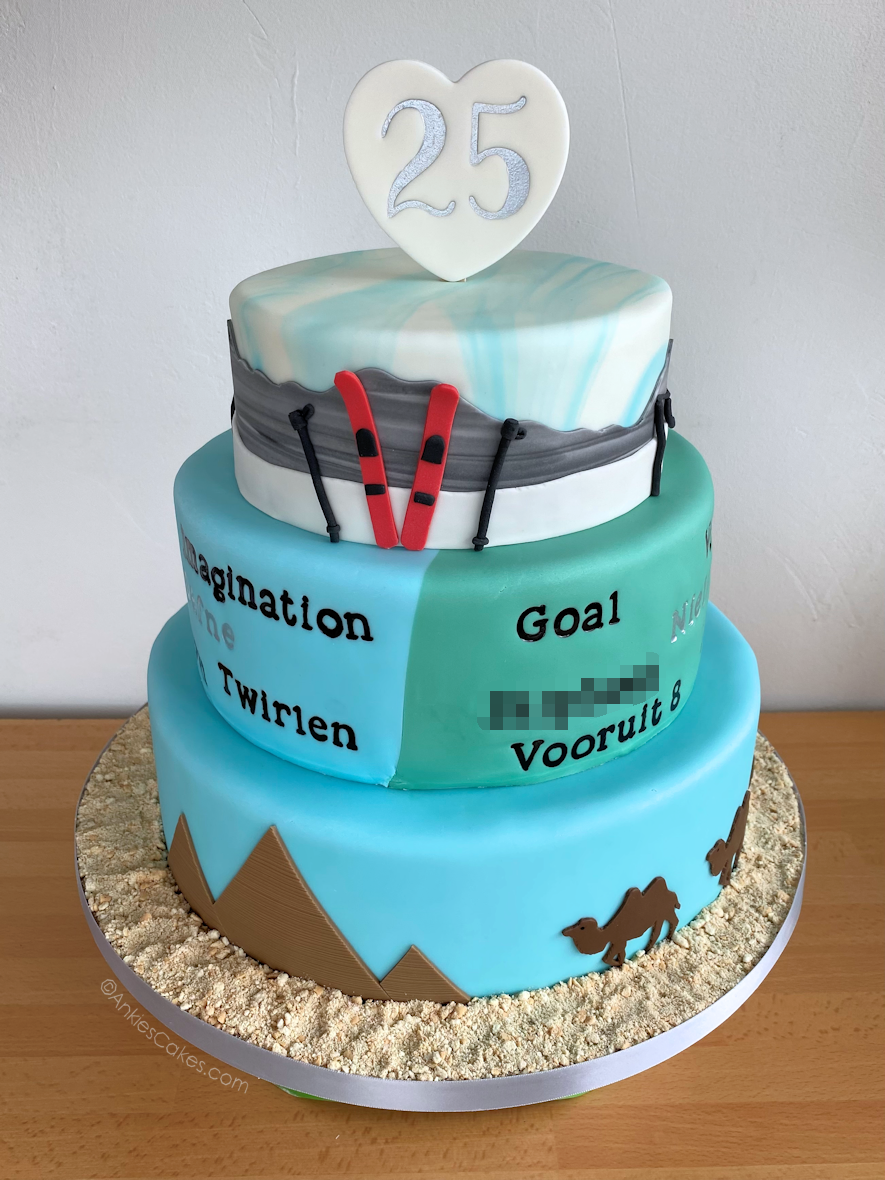
I got to make this cake for a 25th wedding anniversary  But instead of making a traditional white and silver cake, we wanted to make it more their cake by making each tier something from their 25 years together. This cake was a surprise for the couple, their kids gave it as a gift, so it was so much fun to see the look on their faces when they saw the cake, they had no clue! So for the three themes, we decided on their honeymoon in Egypt, having their kids and they really like to go skiing.
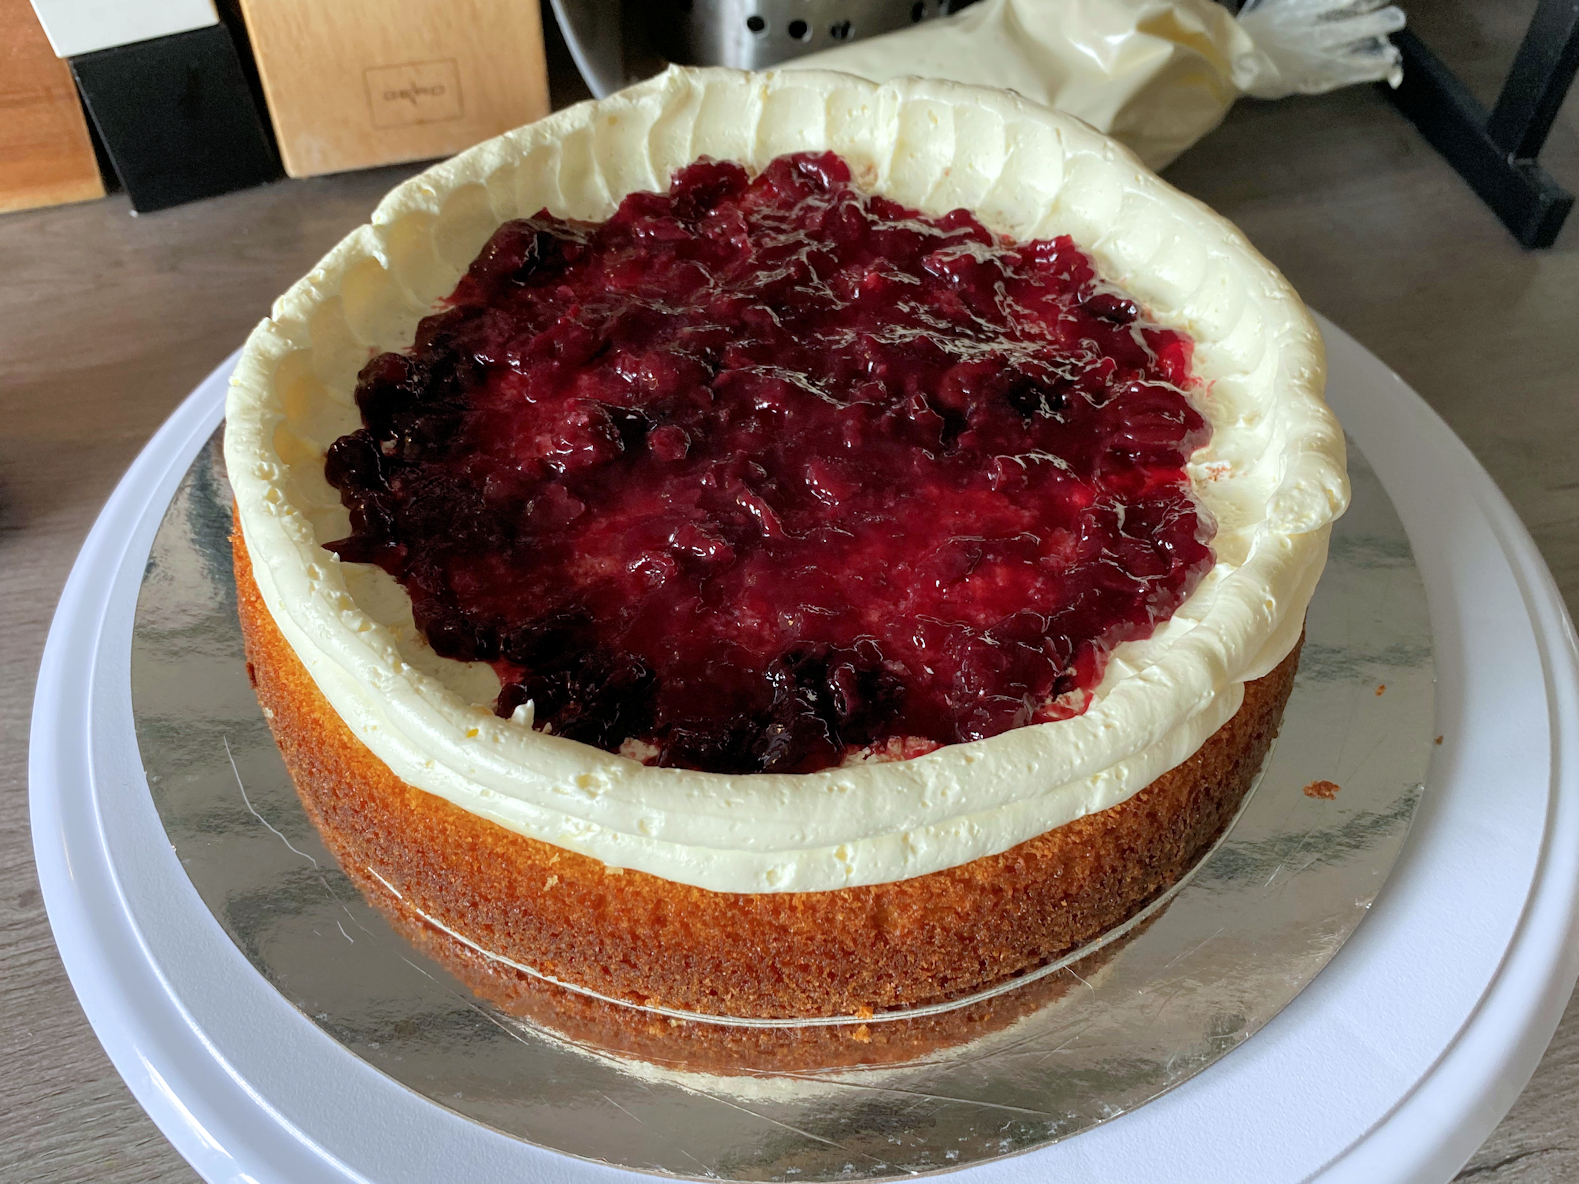
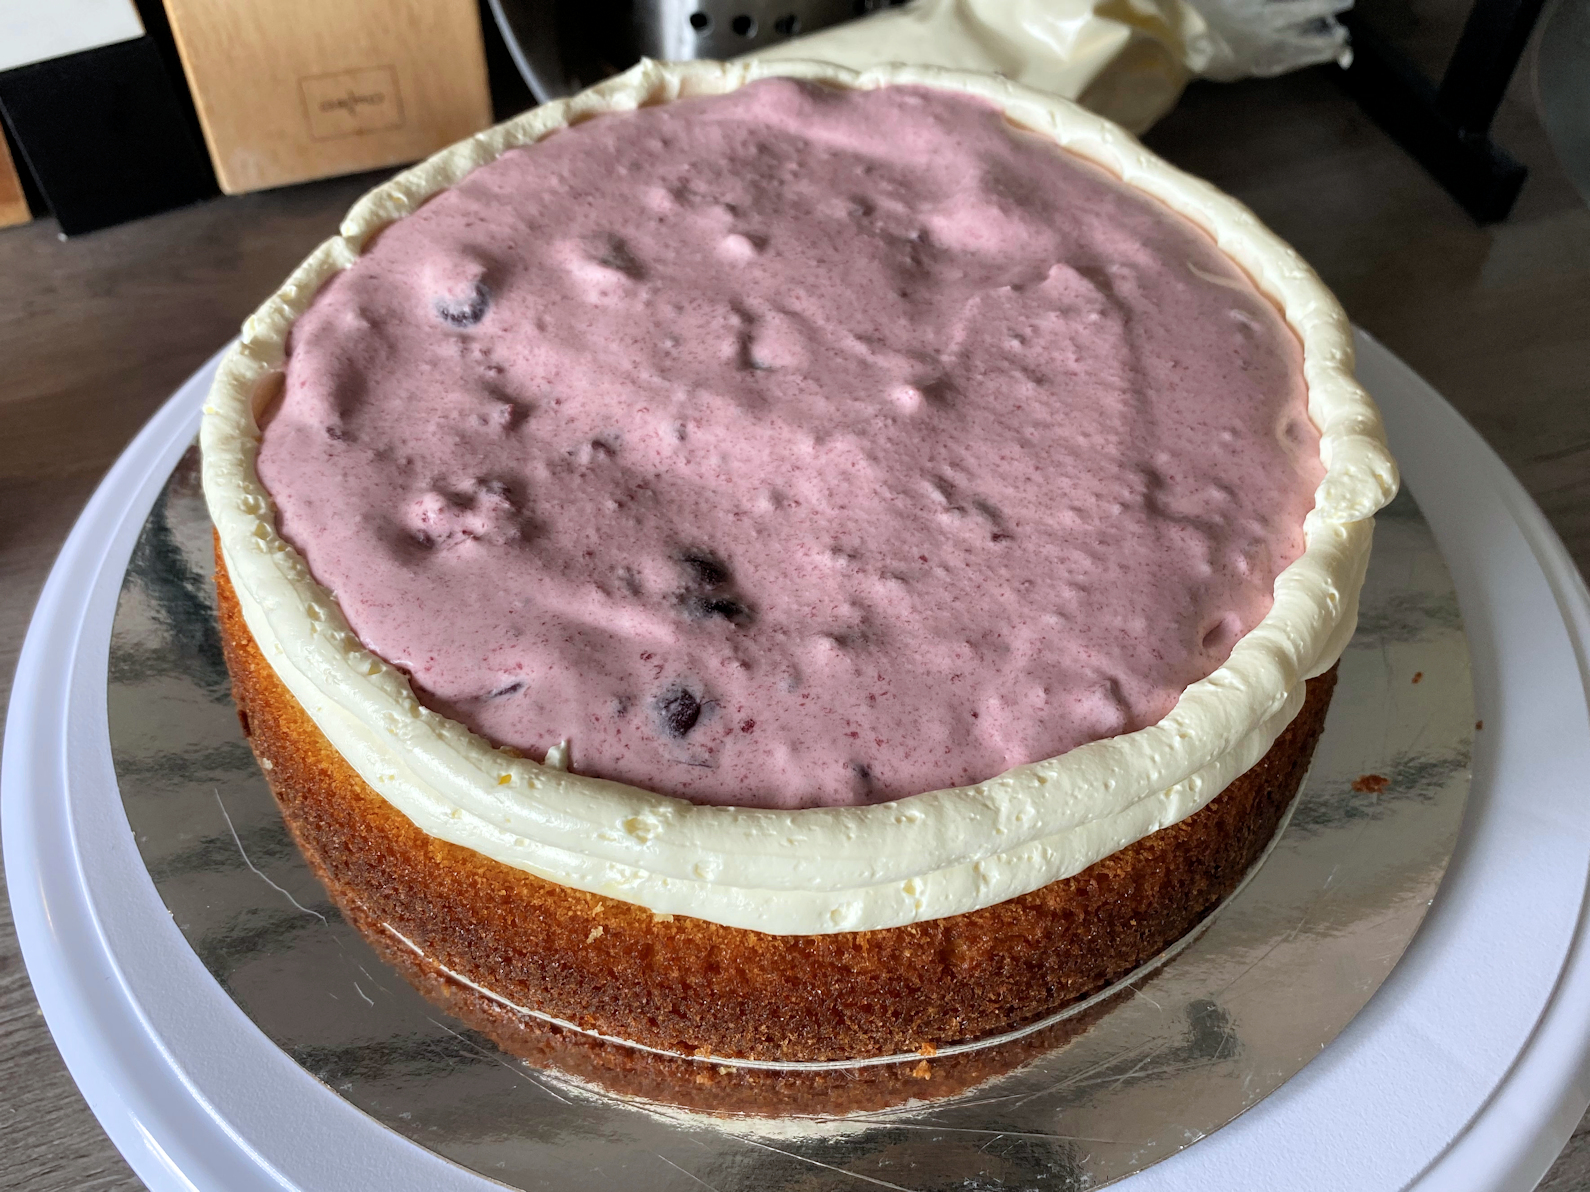
I started by baking the cakes, two 10″ (25 cm), two 8″ (20 cm) and two 6″ (15 cm) vanilla cakes. When they were all baked and cooled down I levelled them and made the filling. I made three different fillings, for the bottom cake strawberry. I started by making the filling itself by whipping some cream and adding strawberry jam to it to taste. Then I piped a border of buttercream on the first layer of cake and spread some more strawberry jam on the cake and then spread the strawberry cream filling in the middle. For the middle cake, I made a cherry filling, which was made in the same way as the strawberry but then with cherry jam. And for the top cake, I filled it with homemade lemon curd. I layered the other cake layer on top and crumb coated all three cakes.


For the middle tier, I covered the cake in the favourite colours of the kids and asked them some words I could paint on the cake to represent them. I embossed the words with the Frosting set from Sweet Stamp and painted the letters with black food colouring. For the names of the kids, I painted them in Silver to let them stand out more.
Then for the last tier, I covered the cake in some white fondant I marbled it with some of the light blue, for a cloudy sky vibe. Then I made some mountains out of black/grey fondant marbled with white fondant (for the snow), it turned out a bit darker than I would have liked so I decided to add the white “snow” border on the bottom. Then I made some skies out of red fondant and added some of the details as well as the ski poles with black fondant. I also made a ski lift by extruding some black fondant through my fondant extruder to make long cords. I made some poles and smaller cords for the cable of the lift. And in between I ‘hanged’ some seats. Which I made by bending a shorter piece of the black cord in an L shape.
The silver 25 in the white heart on top I made a few days in advance to let the fondant harden so it would stand on its own. I just rolled out some fondant (not too thin) and embossed it with the number 25 (Elegant Numbers set by Sweet Stamp). Then I cut it out with a heard shaped cookiecutter. And painted the numbers silver. When the topper had set and the paint was dry I glued on a popsicle stick with some piping gel to the back, so I could stick it into the cake.
The last thing to do was to stack the cakes and finish the cake board. I carefully stacked the cake on top of each other by pushing in some plastic straws in the bottom 2 cakes for support otherwise the cake would collapse. And I added some buttercream as a bit of glue so they wouldn’t move. Then for the cake board, I rolled out some more brown fondant quite thin and wrapped that around the cake on the board and stuck it on with some water. Then I crushed some digestive biscuits to look like sand and sprinkled that over the fondant which I also painted a little water on to make it sticky. Then I wrapped the board with a silver cake ribbon and the cake was finished!
I had fun making this cake, and the couple and their kids were very happy with it  Which is just the best part about making cakes for others, the surprise and smiles on their faces 😍