M&M's Crispy Cake
This is one of my birthday cakes! I really like M&M’s Crispy, and I mean who doesn’t?! So when I was thinking of making this cake it kept getting better and better XD I chose to make the middle layer a big rice Krispie 
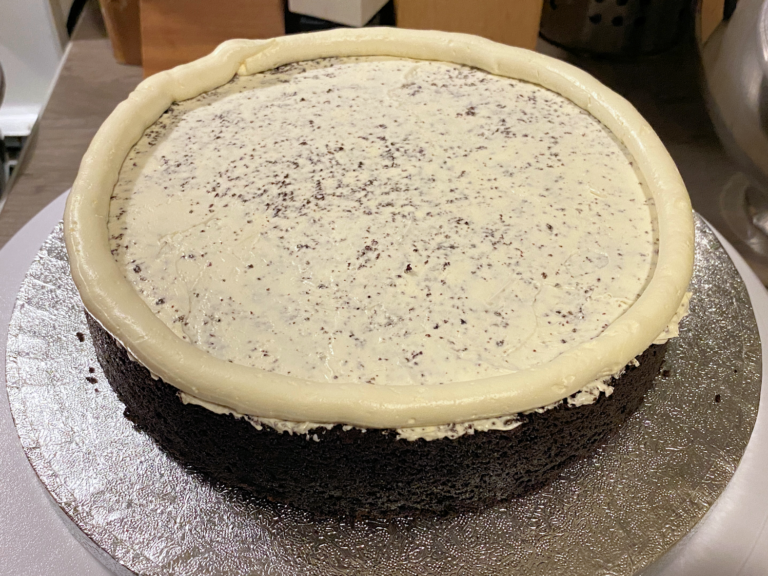
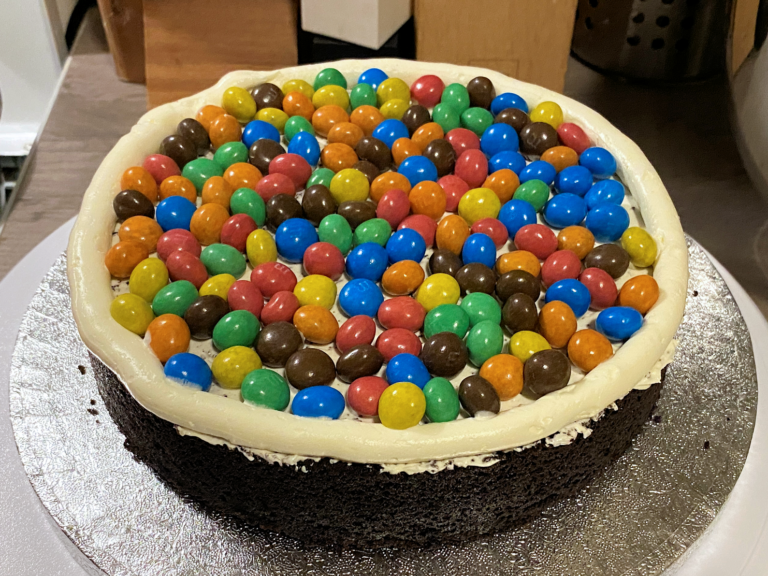
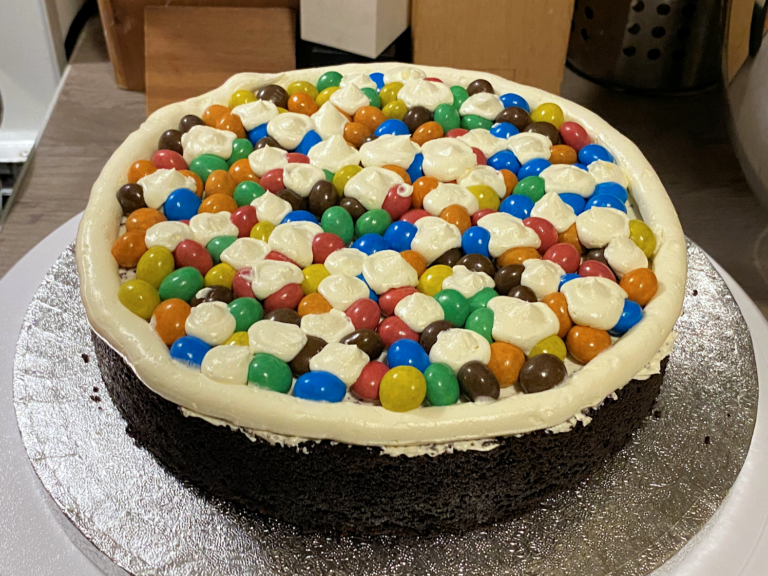
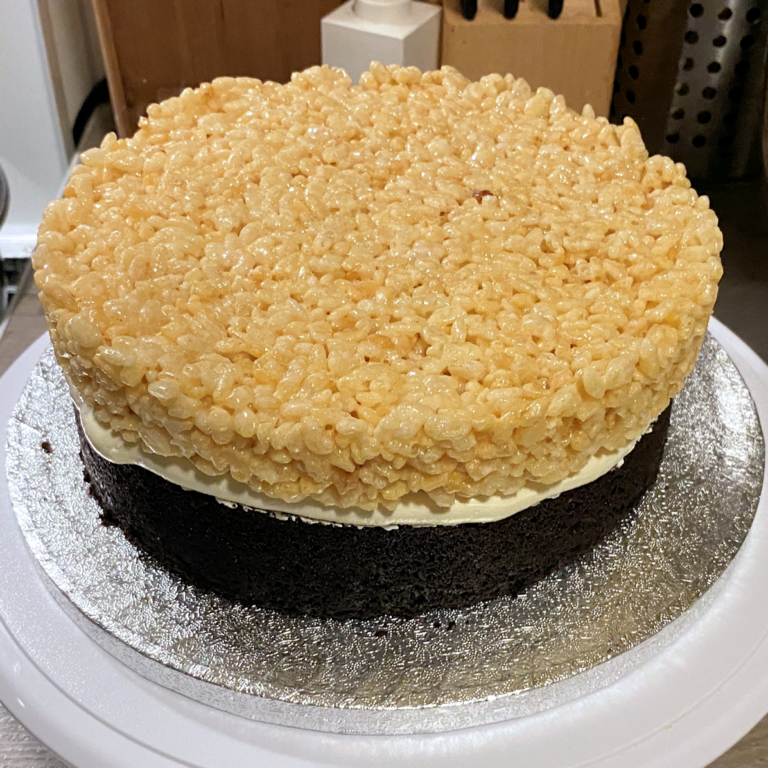
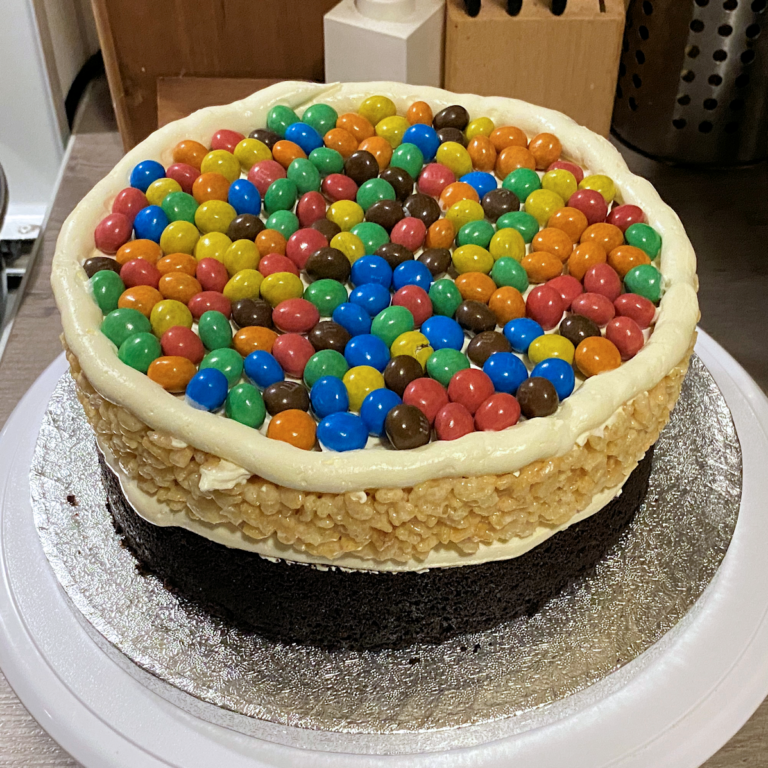
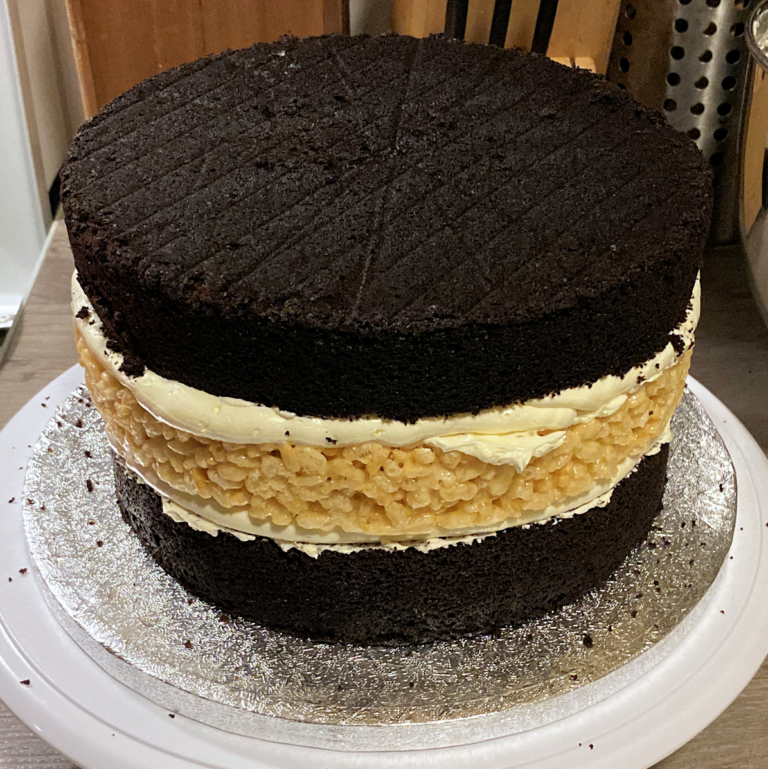
I started by baking 2 layers of chocolate cake. When they were cooling down I made the rice Krispie “treat” XD I formed it into the same pan as the chocolate cakes. When then was cooled down I could take it out quite easily, it did bend a little bit but it flattened out again. Then I made some vanilla Swiss meringue buttercream, and it was time to stack the cake. I started by putting down a layer of chocolate cake and then a very thin layer of buttercream to lock in the crumbs and piped a border of buttercream. Then I filled that with a layer of M&M’s, YUM!! I added some more buttercream to make the next layer stick, which was the rice Krispie “treat”. I repeated the steps for the filling and then I added the final layer of chocolate cake. I crumb coated the cake and placed it in the fridge to chill.
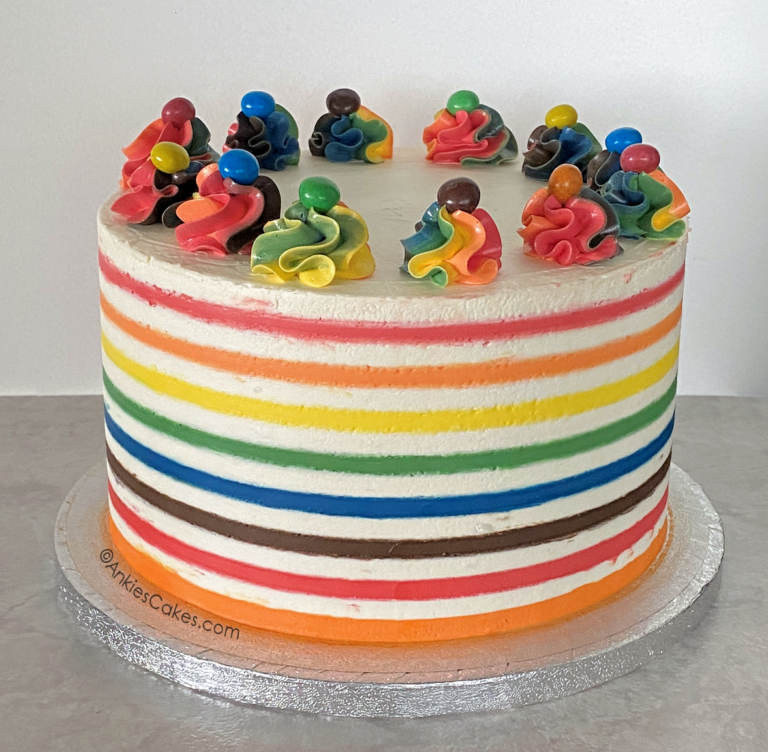
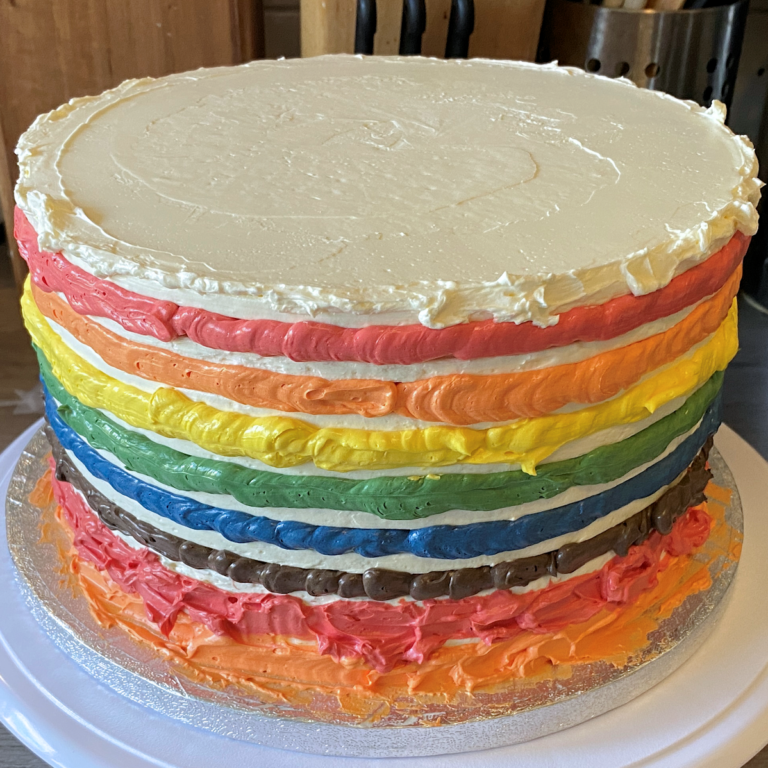
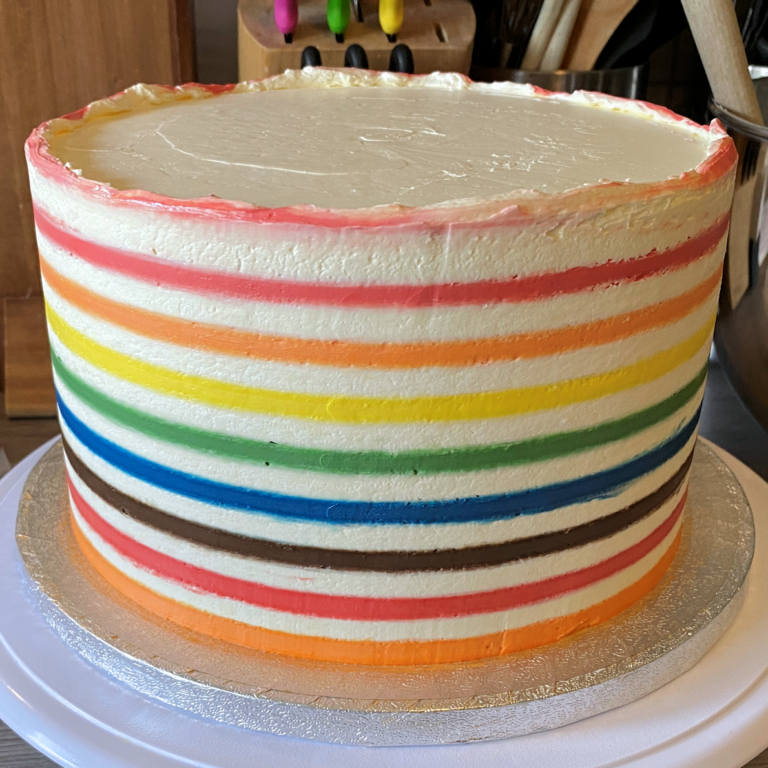
When the cake was firm to the touch, it was time to decorate. The final buttercream layer is actually made up of 2 parts. The first part was with just white buttercream and a cake comb, which looked like the top of a castle (like with square tooths). I iced the cake quite thick and then with the comb removed quite a lot of the buttercream to give me grooves so I could pipe the colours into. When the white buttercream layer looked good I placed it in the fridge to set. In the meantime I coloured small amounts of buttercream in de 6 different colours of M&M’s Crispy; brown, blue, green, yellow, orange and red (I also piped the stripes on the cake in that order). When the buttercream was firm to the touch I took the cake out of the fridge and started on the stripes. I piped the coloured buttercream in the grooves and then with a smooth cake scraper I scraped the cake until the lines were defined and I was happy with how it looked. I really took my time here, and also made sure not to take too much off because you can’t really take it off and do it again. To make the top look nice I let the buttercream harden in the fringe again and scraped it off.
Then to finish the cake I piped some colourful buttercream on top and added an M&M to each of them. And that is the cake finished! I think that it turned out pretty cute, and the taste is very nice XD. Maybe a bit too sweet to some but that is to be expected with M&M’s as the filling haha.
I actually sliced this cake in half and added half of the Bounty Cake (to make 1 cake again) and piped some chocolate ganache on the seam. I did this because I had another birthday party the next day and didn’t want to make the same cake twice, but this way I gave all my guests a choice of cake flavour.


Wow wat mooi!
Kan deze ook met m&m’s zonder pinda’s?
Via Jamie heb ik jouw adres. Ik ben een collega.
Ik zou willen weten hoeveel deze taart kost. Gewoon om te oriënteren…